How Does Screen Printing Work?
Here at ClassB, the majority of our custom t-shirts are created using the screen printing technique. Screen printing involves the passing of ink through a mesh screen onto which a film image has been applied. Screen printing allows for large, bulk quantities of shirts to be produced at a single time.
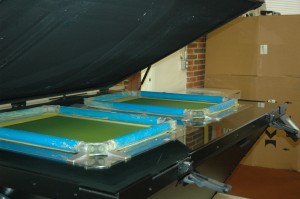
The first step in the screen printing process is preparing a screen by applying emulsion. Emulsion is a light sensitive gel which will harden on the screen when exposed to light. The number of screens used for a shirt depends on the number of colors on a shirt. For example, a shirt with red, green, and yellow requires three separate screens prepared.
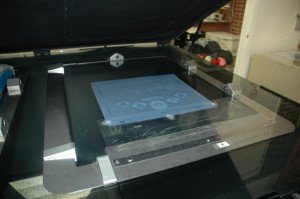
The dried screens then move onto the second step: exposure.The screen is place on top of a film on which the image has been printed to block light from passing through certain areas of the screen in the Tri-Light. The Tri-Light is a shuttered-light screen exposure system. The light exposure hardens the emulsion and brings out the image on the screen.
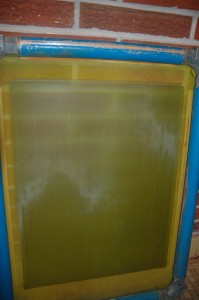
Depending on the mesh size, the screen will stay in the Tri-Light for approximately 3 minutes. The screens are then taken into the wash room where the excess emulsion is washed off. The image can now be seen! The screens are set on a rack to dry once again.
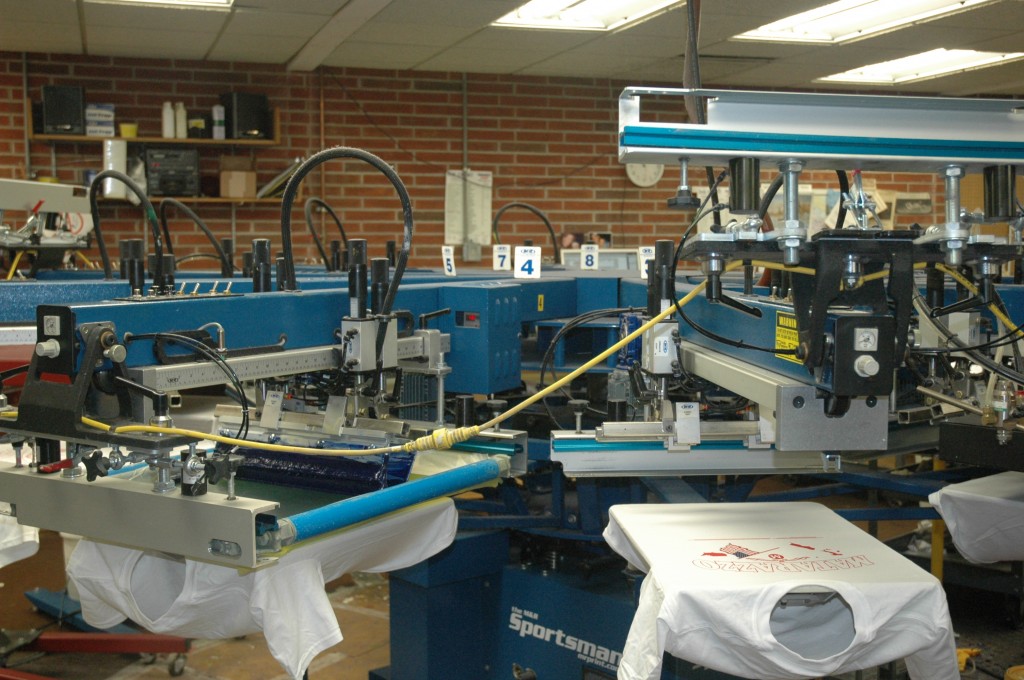
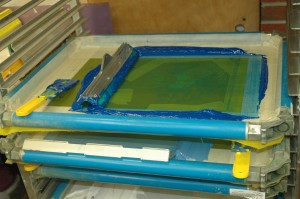
Once the screens have fully dried, they are prepared for the press machine. The borders are taped off to prevent ink from being applied to anywhere other than its designated area on the shirt. The screen is set securely in the press so the appropriate colors will line up according to the registration on the film. We use an automatic press capable of applying 8 colors.
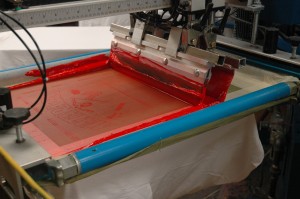
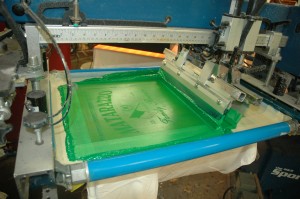
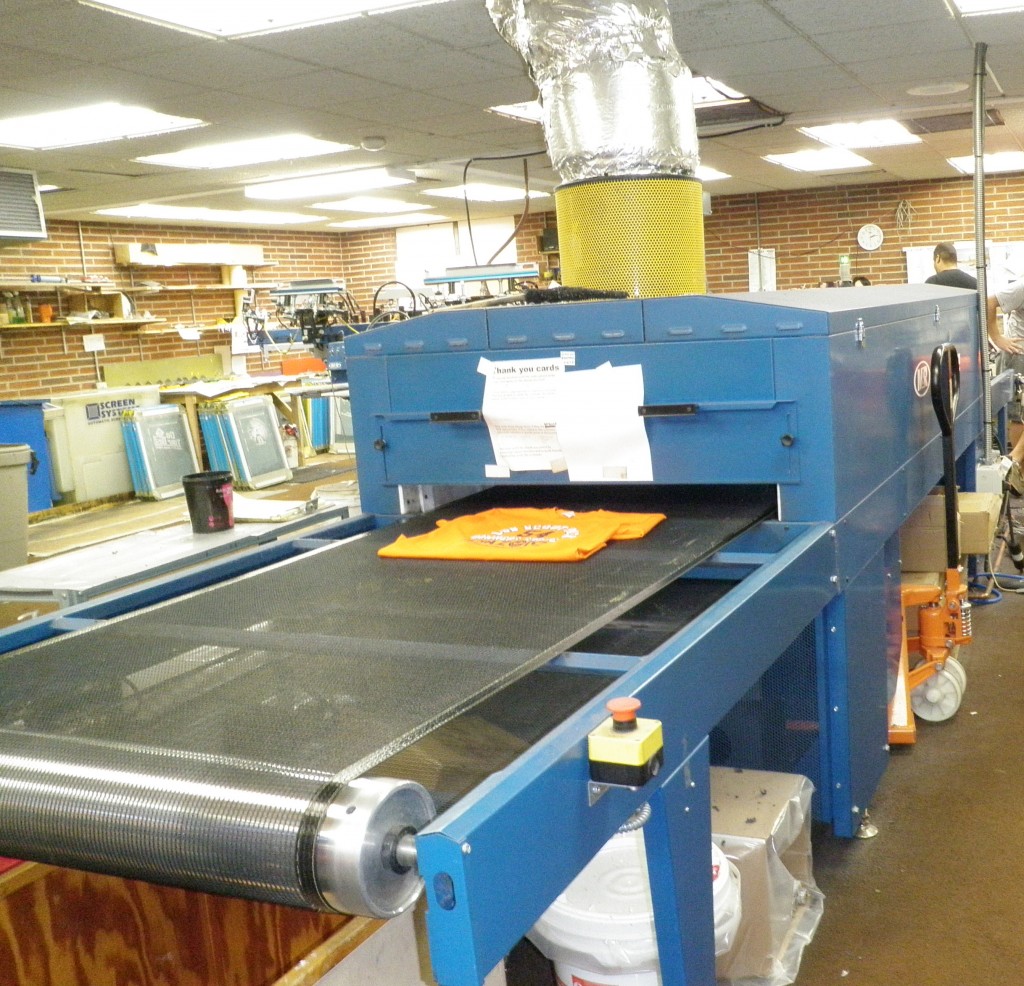
The ink is squeegeed through the mesh and onto each shirt. In between each application of color, the shirt is flashed, or dried. After all the colors have been applied, the shirt is cured in the Radicure (kind of like a giant pizza oven!).
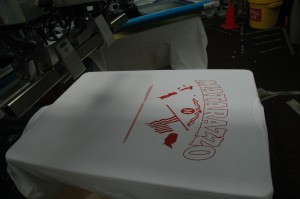
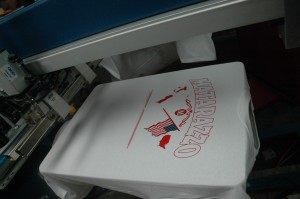
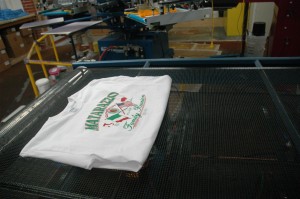
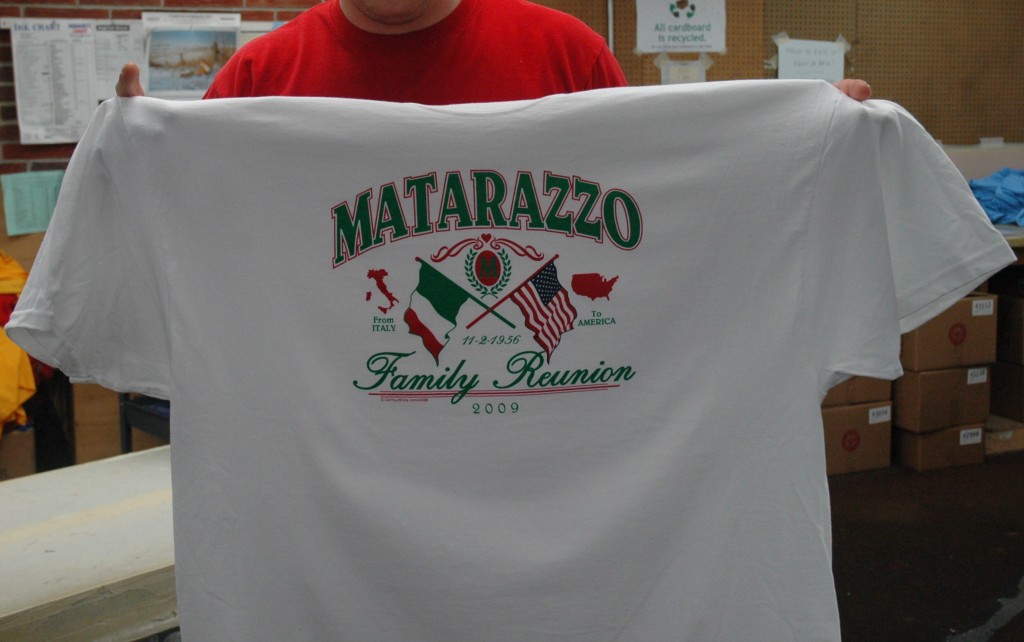
Ta-da! The shirt is complete, as is the screen printing process.
The first step in the screen printing process is preparing a screen by applying emulsion. Emulsion is a light sensitive gel which will harden on the screen when exposed to light. The number of screens used for a shirt depends on the number of colors on a shirt. For example, a shirt with red, green, and yellow requires three separate screens prepared.
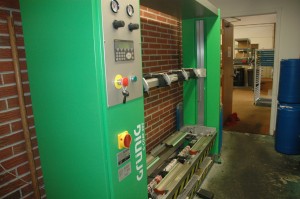
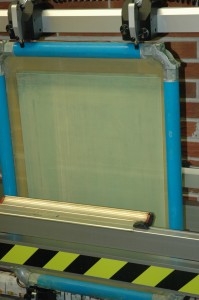
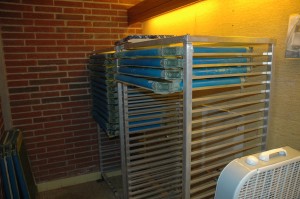
Using the Grunig machine, the screens are placed in carriages, and a single layer of emulsion is poured onto either side at once. The screens are then set on a rack to dry. This can take anywhere from 45 minutes to 2 hours depending on the temperature.
The dried screens then move onto the second step: exposure.The screen is place on top of a film on which the image has been printed to block light from passing through certain areas of the screen in the Tri-Light. The Tri-Light is a shuttered-light screen exposure system. The light exposure hardens the emulsion and brings out the image on the screen.
Depending on the mesh size, the screen will stay in the Tri-Light for approximately 3 minutes. The screens are then taken into the wash room where the excess emulsion is washed off. The image can now be seen! The screens are set on a rack to dry once again.
Once the screens have fully dried, they are prepared for the press machine. The borders are taped off to prevent ink from being applied to anywhere other than its designated area on the shirt. The screen is set securely in the press so the appropriate colors will line up according to the registration on the film. We use an automatic press capable of applying 8 colors.
The ink is squeegeed through the mesh and onto each shirt. In between each application of color, the shirt is flashed, or dried. After all the colors have been applied, the shirt is cured in the Radicure (kind of like a giant pizza oven!).
Ta-da! The shirt is complete, as is the screen printing process.
